
HORSESHOE BAY · OAK FLOORS & CUSTOM DETAILS
Beyond
the edge.
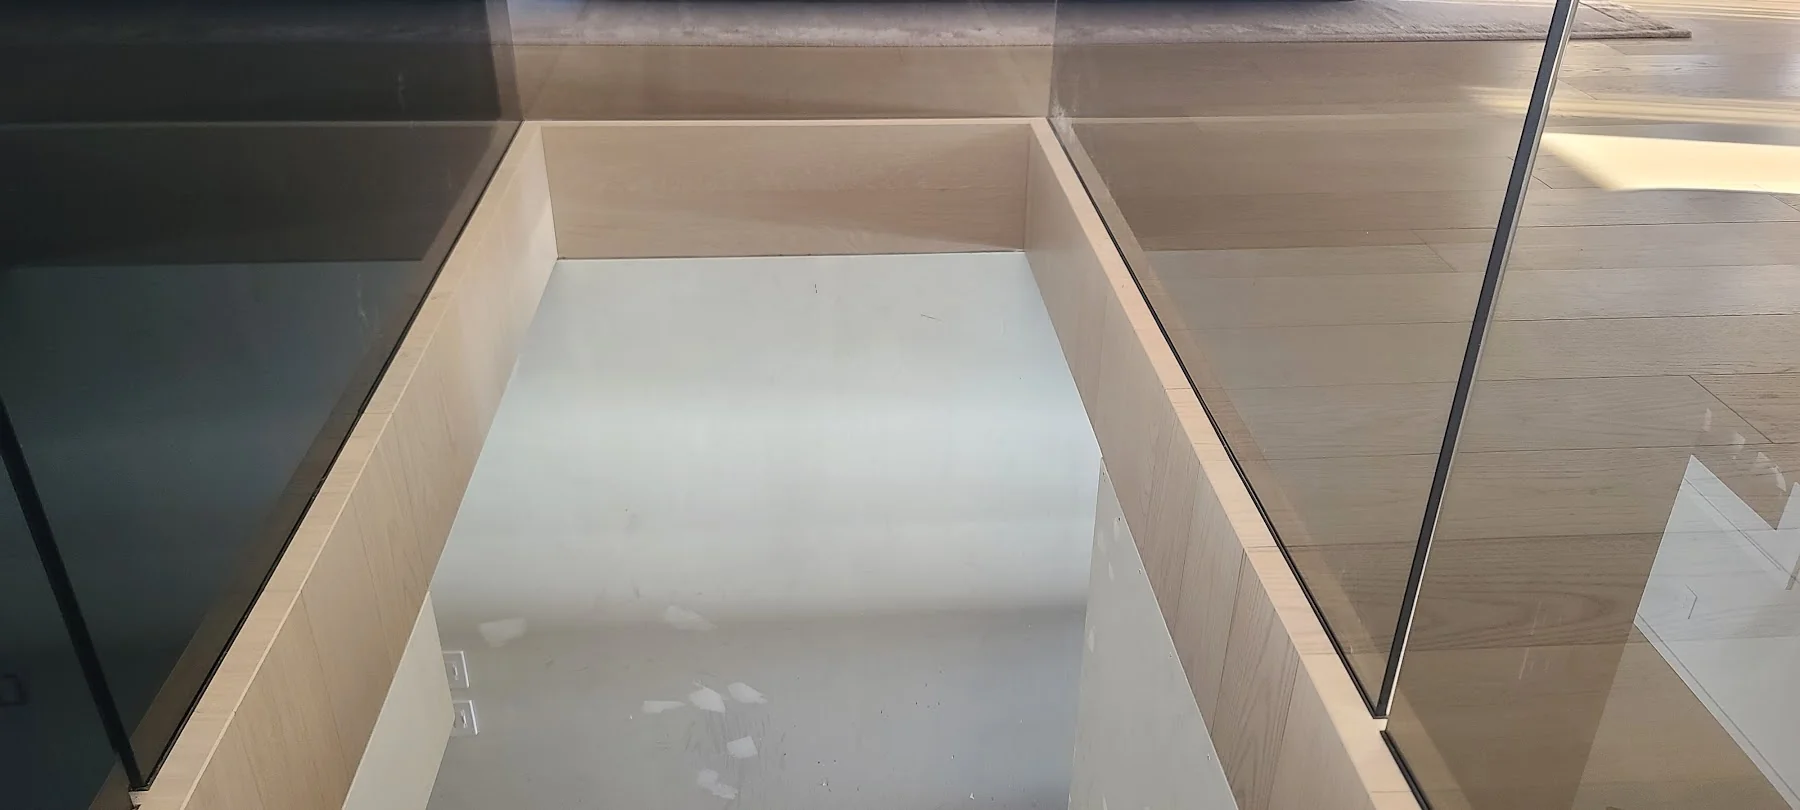
Oak flooring, a glass stairwell and a carefully fitted return. A quiet detail gives the floor a presence beyond its surface.
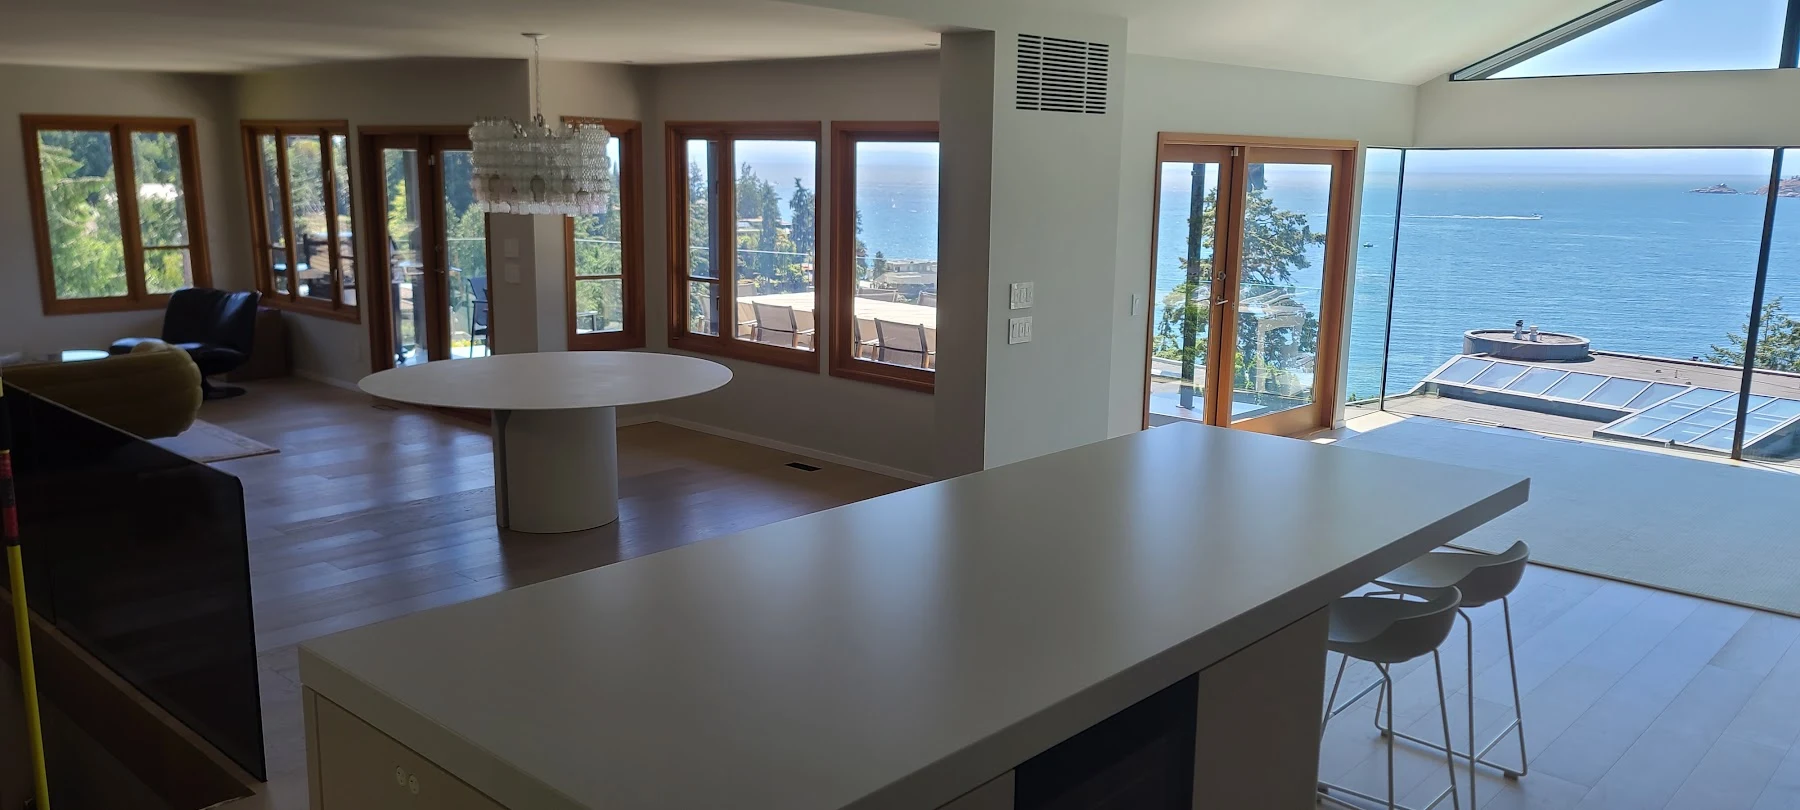
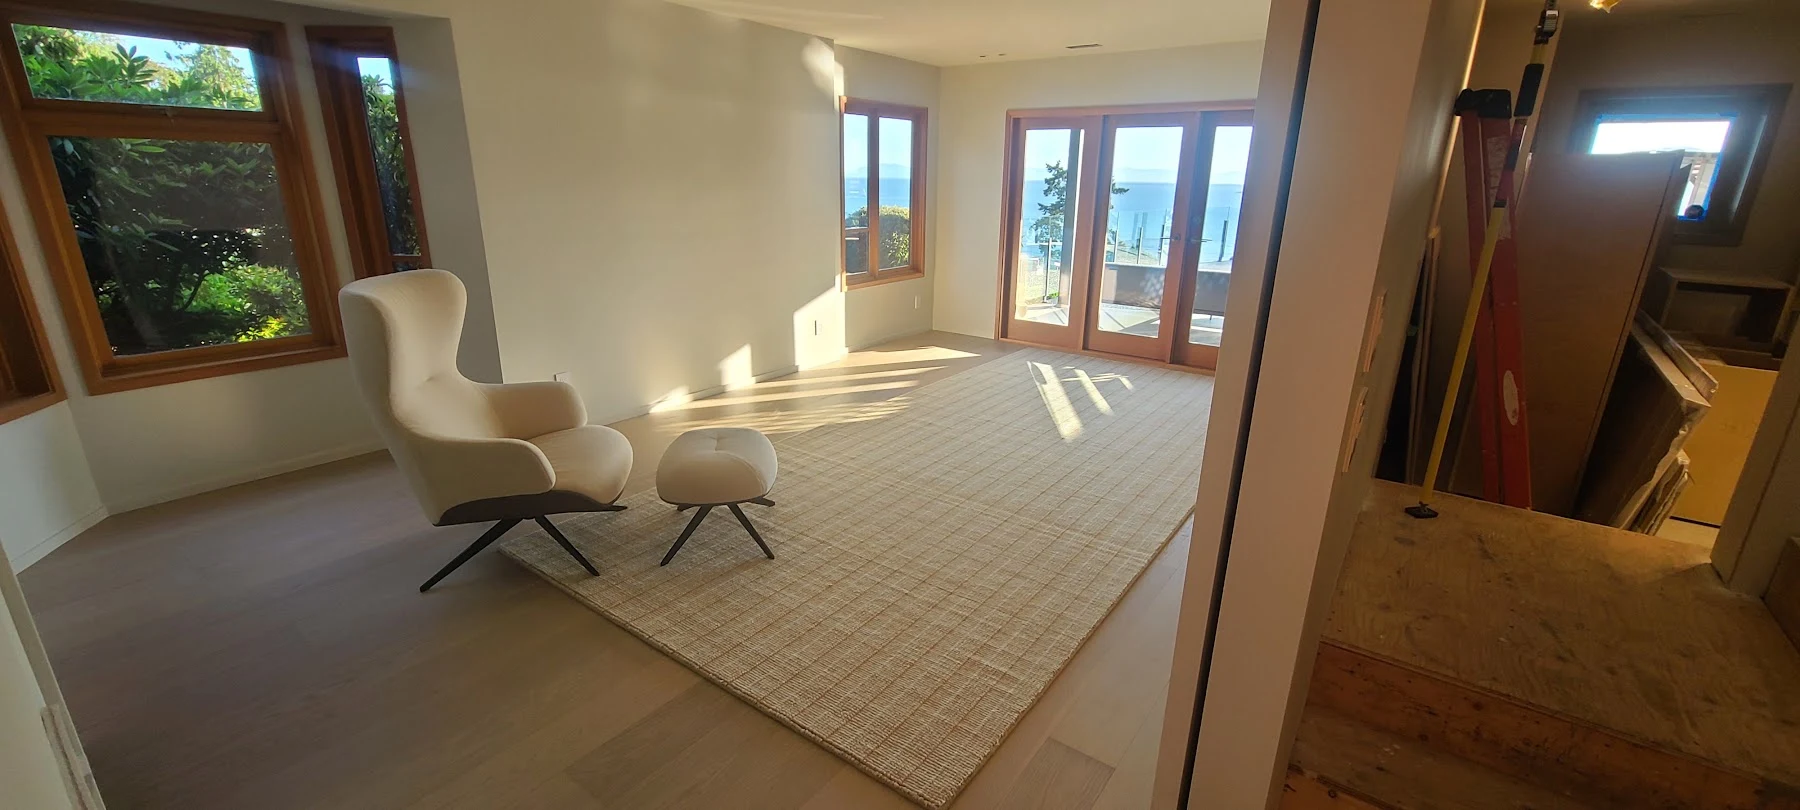
A floor with
another dimension.
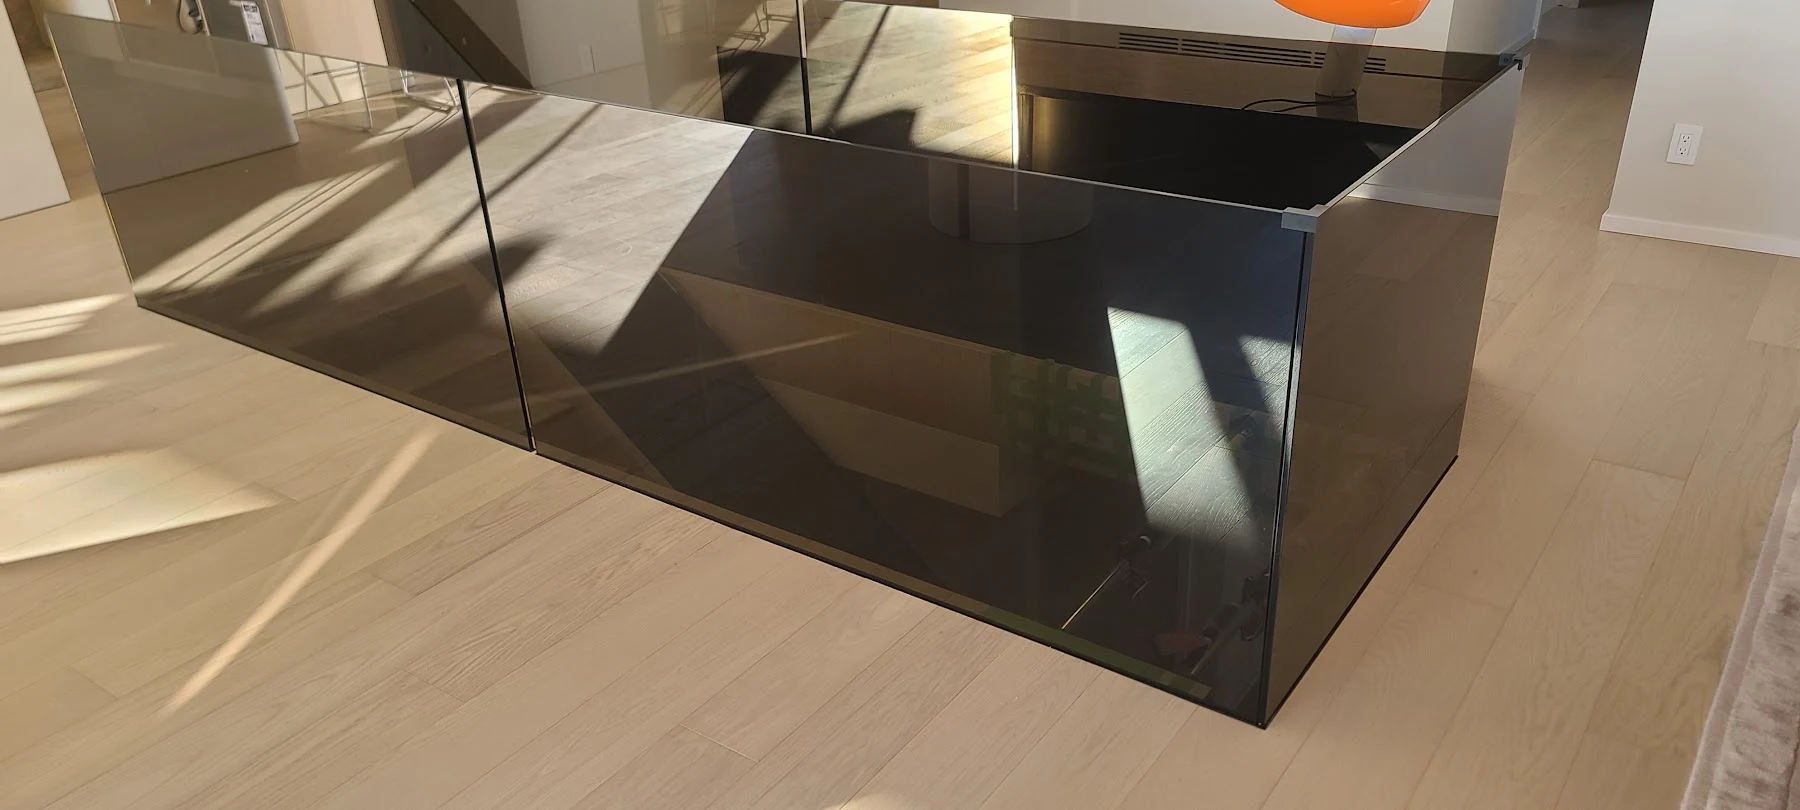
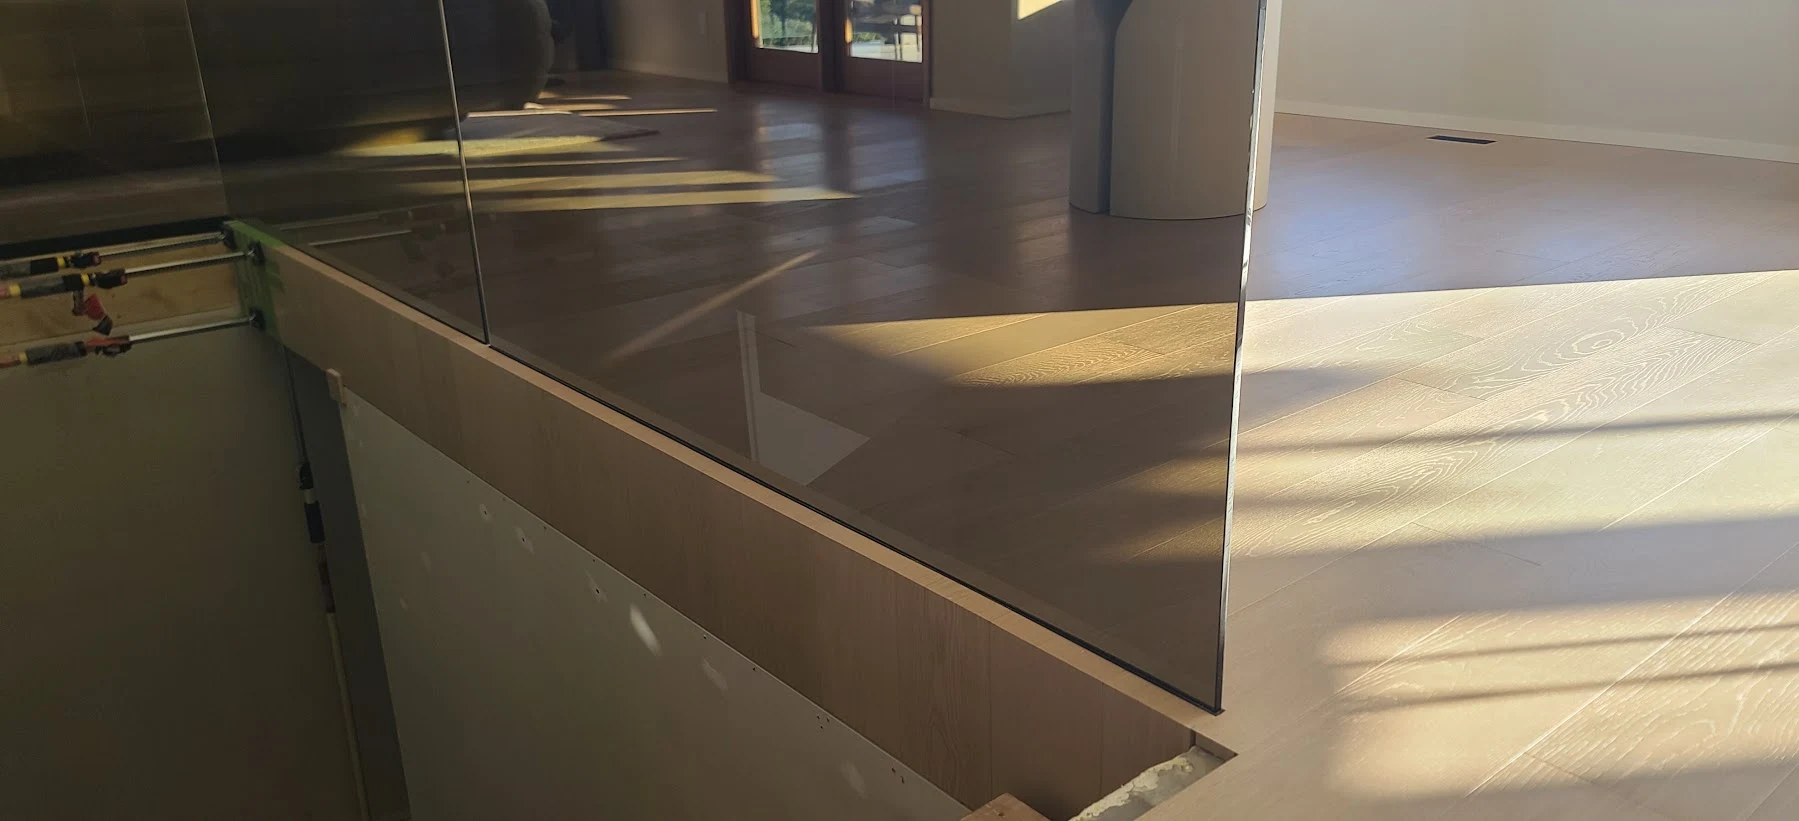
The oak continues over the stairwell edge, forming a fitted return beneath the glass. Carefully joined corners carry the line around the opening.
Details that
belong.
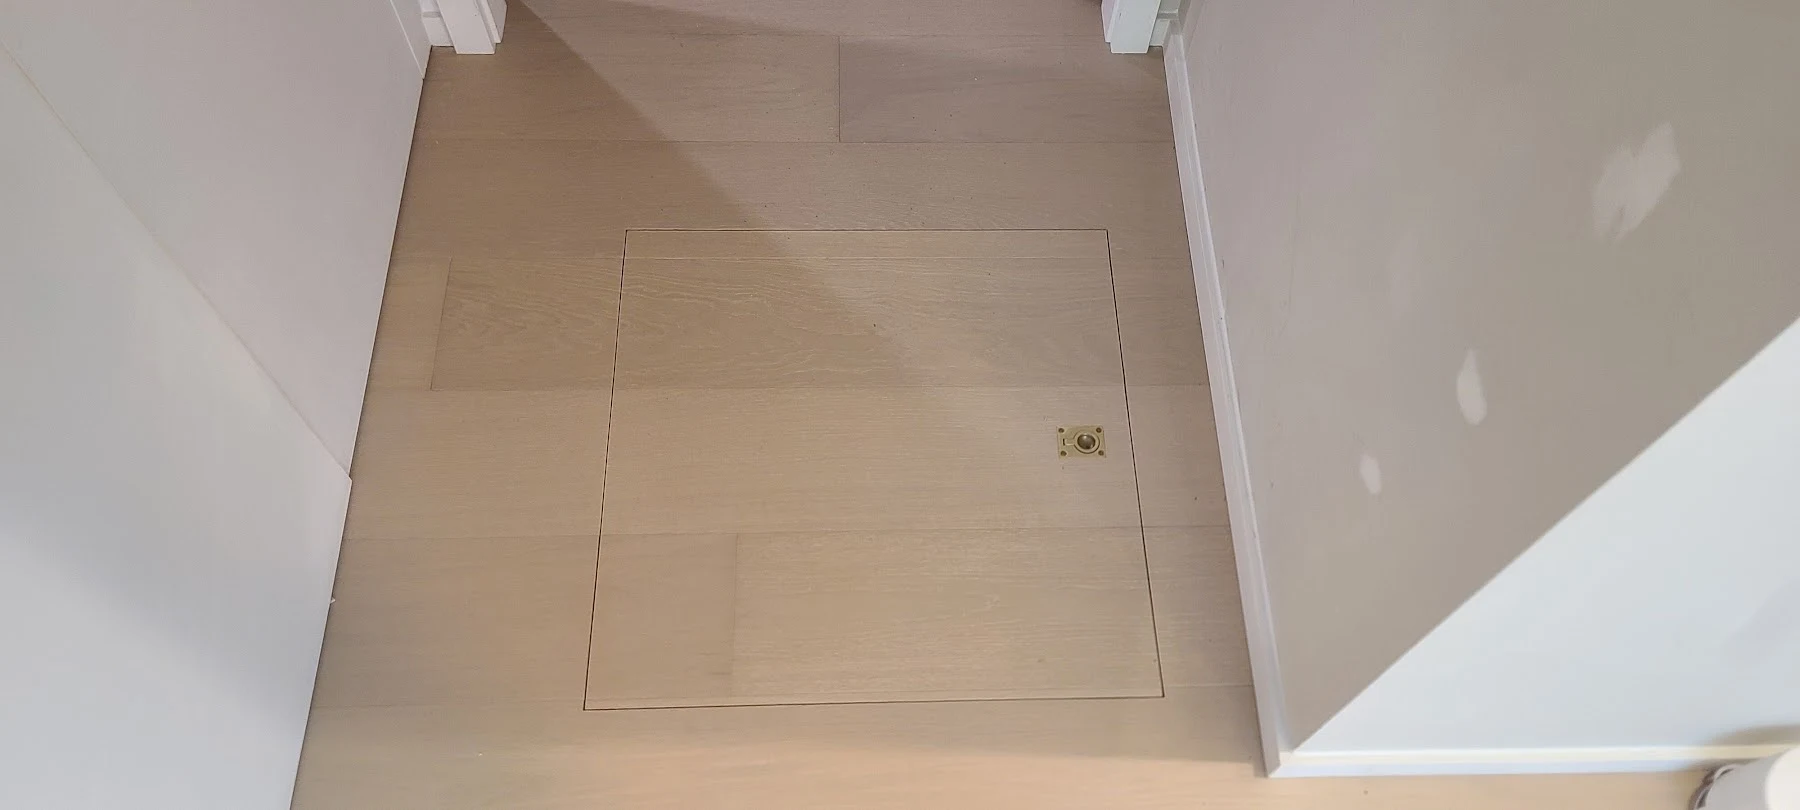
A flush access hatch carries the flooring across the opening, keeping the surface visually continuous.
MATERIALS IN CONVERSATION
A considered
meeting point.
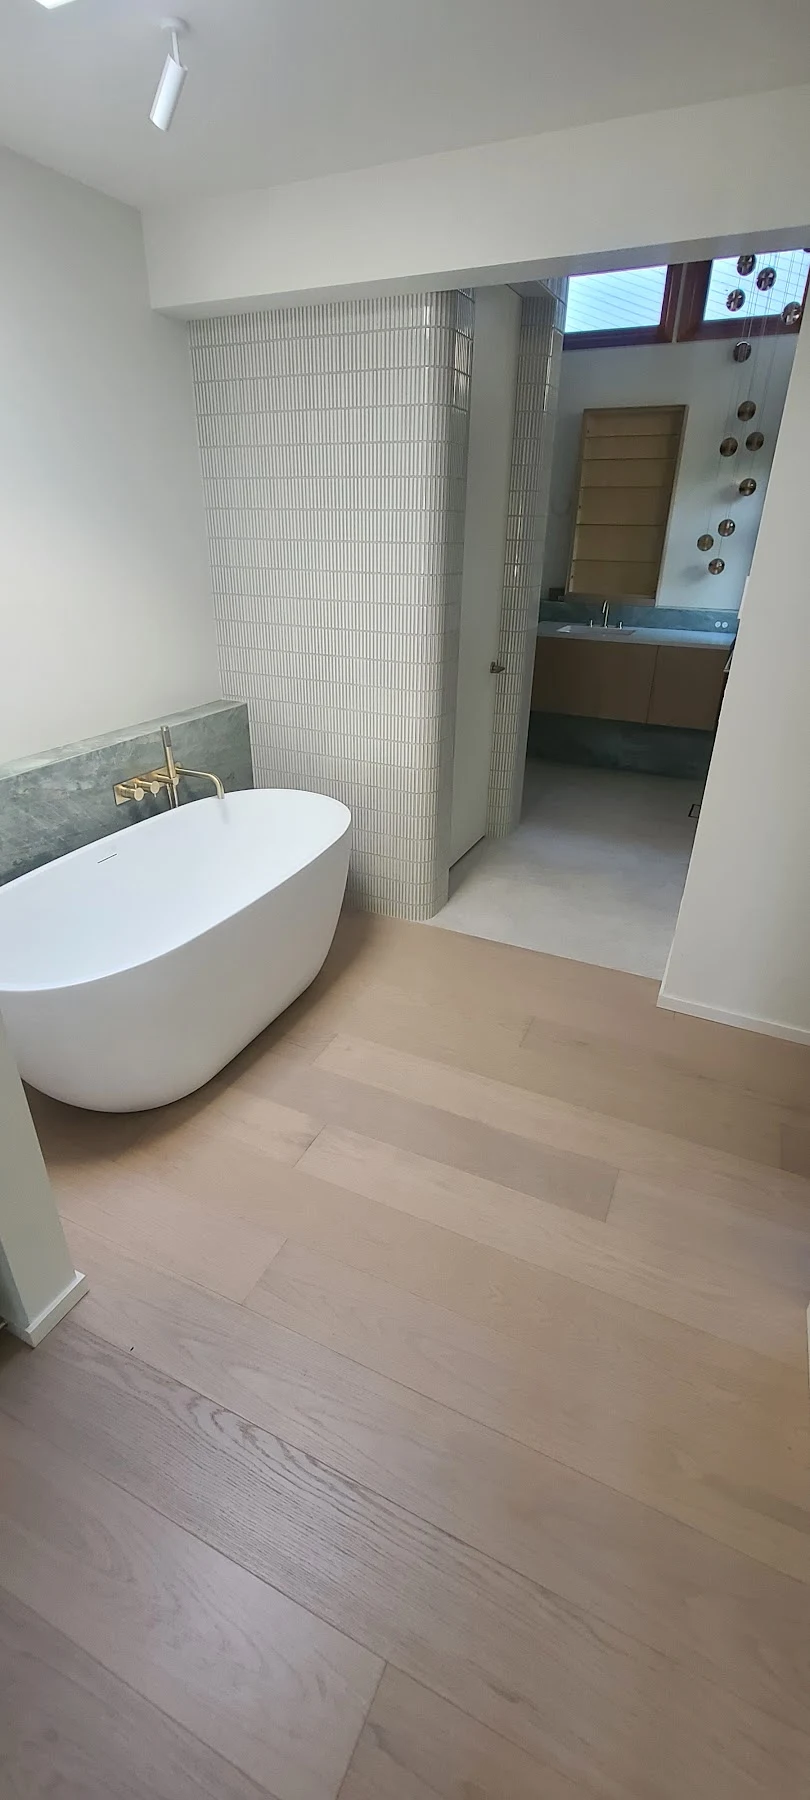
The oak carries into the bathroom, meeting the tiled area along a clean, straight edge. The change in material gives each part of the room its own character.
Behind the finished floor · preparation, installation & the oak return
What sits behind
the finished detail.
The ocean-facing rooms are only one part of the story. The installation photographs show the floor before the oak went down, the boards being laid, and the assembly of the return beneath the glass.
Start with the surface.
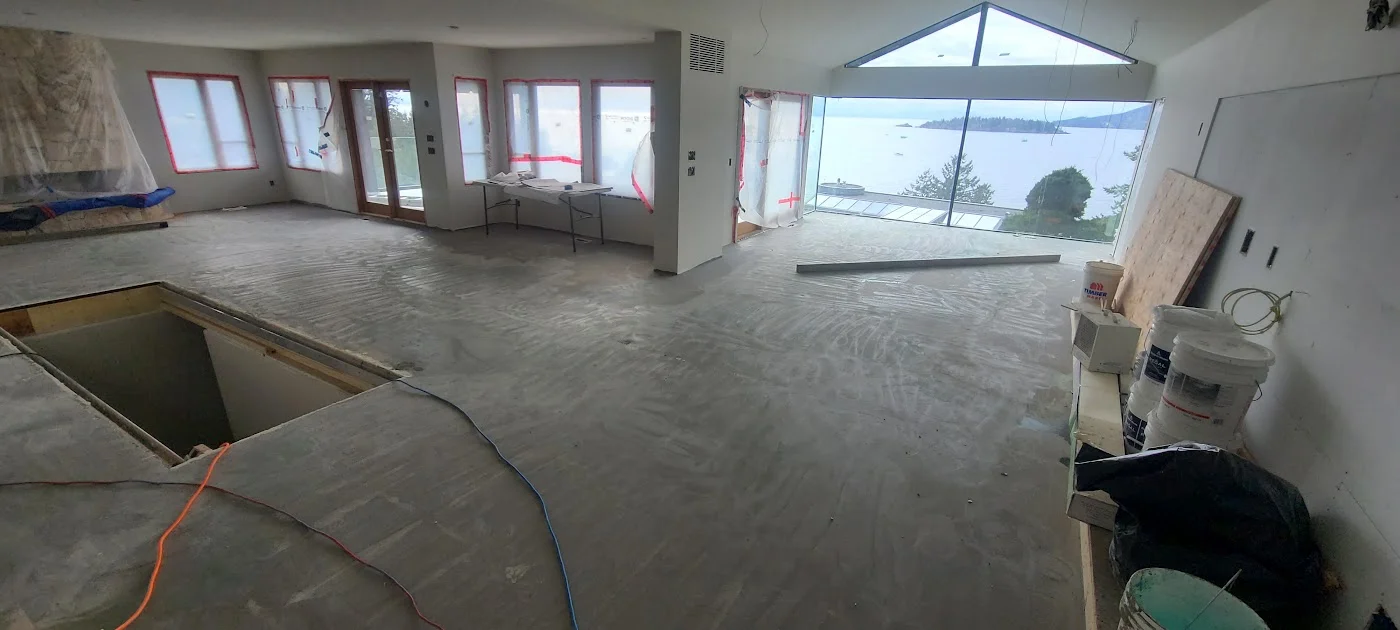
The exposed floor and open stairwell show the starting point. Surface preparation comes before the finished boards and the edge details that will remain in view.
Lay the boards. Bring the joints together.
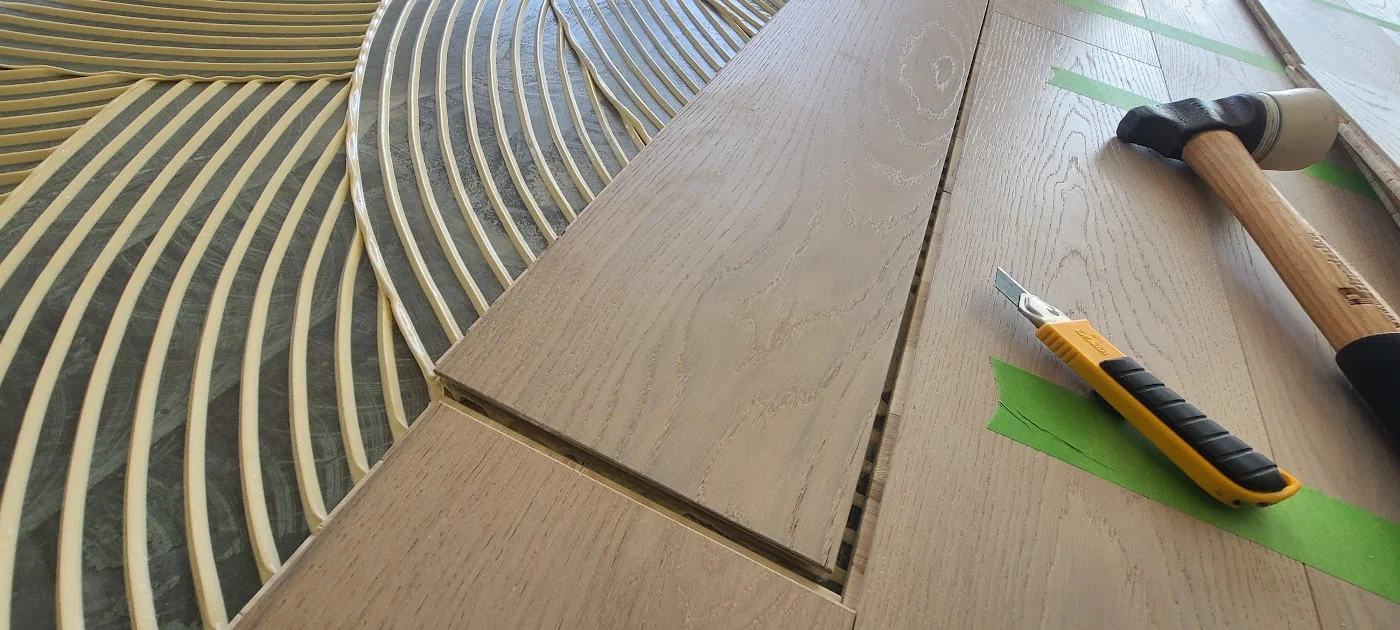
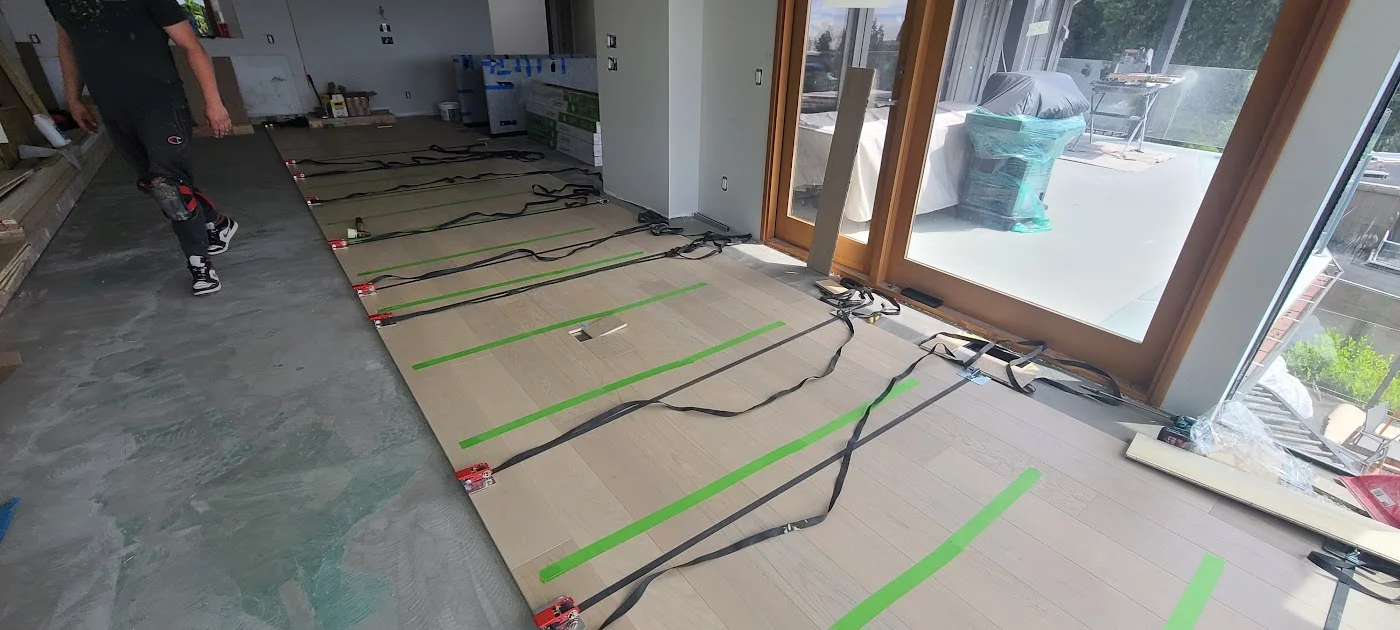
The close-up shows adhesive combed onto the surface as the oak is laid. In the wider view, straps and temporary tape hold the boards together during installation.
Carry the oak beneath the glass.
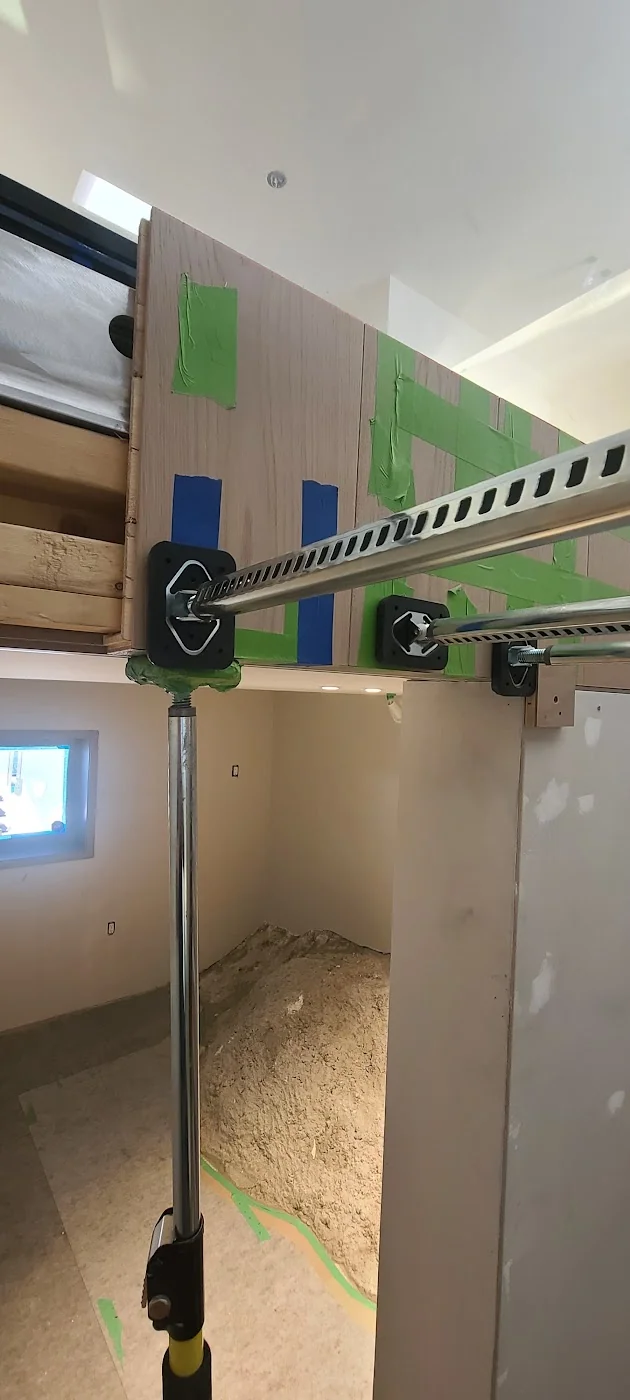
The return has a face and an underside, so it needs to read clearly from the room above and the stairwell below. This view shows the lower return supported and clamped while the assembly is brought together.
YOUR HOME, NEXT
Considered,
down to the edge.
Planning hardwood floors, stairs or a custom transition? Send us a few details. We’ll follow up by email or phone and arrange a site visit to discuss what suits your home.
Request an estimate ↗